
If you have ever tried to fill SIR form online India, you already know how confusing the process can feel—scattered information, unclear steps, wrong links, and zero guidance. Many people face the same issue every day, especially students, employees, and job applicants who need an SIR form for verification, reporting, or record-keeping.
The good news?
This complete simple guide will help you understand what the SIR form is, who needs it, and how to fill SIR form online in India without making mistakes. This article is written in clear, human-friendly language, with step-by-step instructions and tips to avoid rejection.
Whether you are filling the form from your phone or laptop, this tutorial will walk you through everything.
What Is an SIR Form and Why Is It Required?
Before you start to fill SIR form online India, it’s important to understand what it actually means.
SIR stands for “Self Inspection Report” or “Student Information Report” or “Safety Incident Report,” depending on the government body or organization.
Different departments use the SIR form for different purposes, including:
- Identity verification
- Reporting an incident
- Self-inspection for compliance
- Student admission or record updates
- Employment verification
- Submitting official declarations
Many government portals now offer the option to complete and fill SIR form online India instead of doing it on paper—saving time, avoiding long queues, and reducing manual errors.
Who Needs to Fill an SIR Form Online?
You may be required to fill SIR form online India if you belong to any of these categories:
✔ Students applying for admission, scholarships, or corrections
✔ Employees submitting workplace incident reports
✔ Businesses needing a compliance inspection
✔ Govt. license applicants
✔ Anyone who must provide formal self-declaration or record updates
No matter the type, the basic steps are similar when you fill the form online.
⭐ Step-by-Step Guide: How to Fill SIR Form Online in India (2025 Updated)
This is the simplest and clearest guide available to help you successfully fill SIR form online India.
Step 1: Visit the Official Portal
Every department has its own website, but the process usually starts here:
- Open the official website shared by your institution or authority
- Look for options like:
- “Online Forms”
- “Downloads/Reports”
- “Application Services”
- “Self-Report Submission”
Make sure the portal is secure (https://). This is important when you fill SIR form online India because many fake websites appear similar.
Step 2: Register or Log In
Most portals require:
- Mobile number
- Email ID
- Aadhaar-linked OTP
- Basic identification details
If it’s your first time, create an account.
If not, simply log in using your credentials.
A user account ensures your form status, receipts, and certificates are stored safely.
Step 3: Select the Correct SIR Form Type
This is where many users make mistakes while trying to fill SIR form online India.
Depending on your purpose, choose:
- Student SIR Form
- Inspection SIR Form
- Incident SIR Form
- Compliance SIR Form
- Employee Verification SIR Form
Always read the description below the form name before clicking.
Step 4: Keep All Required Documents Ready
Different forms require different documents, but commonly needed items include:
Common Documents:
- Aadhaar Card
- PAN Card
- Passport-size photo
- Email & mobile number
- Address proof (Voter ID / Electricity bill)
- Institution ID / Employee ID
- Previous certificates or records
- Incident photos or evidence (if applicable)
When you fill SIR form online India, uploading clear, readable documents is crucial. Blurry images often lead to rejection.
Step 5: Start Filling the Form Carefully
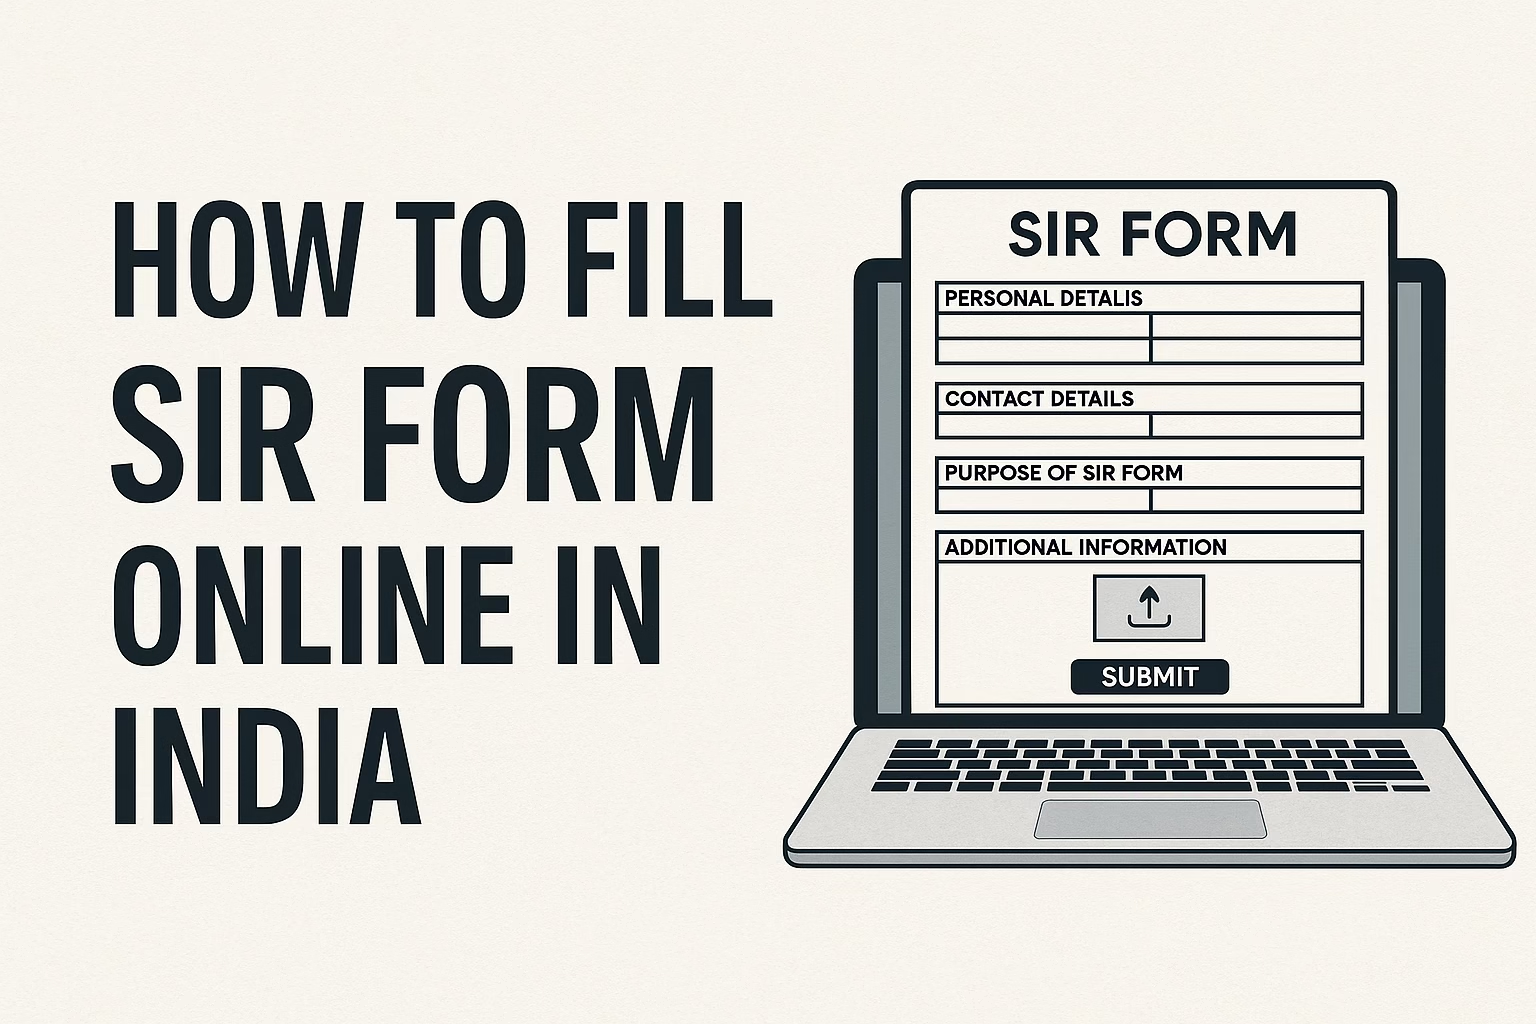
The form usually has 4–7 sections. Fill each part carefully:
Section 1: Personal Details
- Name
- Date of Birth
- Gender
- Father’s/Mother’s Name
Section 2: Contact Details
- Mobile number
- Address
Section 3: Purpose of SIR Form
Explain why you need the SIR form.
Keep it short and clear.
Section 4: Additional Information
This varies based on the department.
Section 5: Document Upload
Upload JPG or PDF files as instructed.
Take your time—accuracy is more important than speed while you fill SIR form online India.

Step 6: Review the Form Before Submitting
Most rejection cases happen due to:
- Wrong spellings
- Incorrect dates
- Missing attachments
- Wrong form category selected
Before clicking submit, recheck everything.
This step is essential when you fill SIR form online India because once submitted, corrections become difficult or may require a new application.
Step 7: Submit the Form and Save Acknowledgment
After submitting, the portal will provide:
- Acknowledgment number
- Receipt
- Form copy in PDF
- Tracking link
Always download and email the PDF copy to yourself.
This ensures you never lose it.
You’ll need the acknowledgment for future tracking when you fill SIR form online India.
Step 8: Track Application Status
Nearly all official portals offer a “Track Status” service.
You can check:
- Pending
- Under Review
- Approved
- Rejected
- Request for Resubmission
Tracking is especially helpful when you fill SIR form online India as some departments take 7–30 days to verify.
Step 9: Download Final Approved Report
Once approved, you may get:
- Digital Certificate
- Printable SIR report
- Verified record copy
Keep it safely in cloud storage (Google Drive / OneDrive).
✔ Benefits of Filling SIR Form Online in India
Choosing to fill SIR form online India comes with many advantages:
1. Saves Time
No travel or long queues.
2. Reduces Errors
Online forms highlight missing or incorrect details.
3. Faster Approval
Digital submissions are processed quicker.
4. Accessible Anytime
Submit using phone or laptop, even at midnight.
5. Easy Document Uploads
Scan or upload from gallery.
6. Secure and Trackable
Every step is recorded digitally.
RELATED: How Political Ads Use Your Data – What You Should Know Before Elections
⭐ Common Problems People Face (And Solutions)
Here are the most frequent issues while trying to fill SIR form online India—and how to fix them:
1. Portal Not Opening
Solution:
- Clear browser cache
- Try Chrome or Firefox
- Use a stable internet connection
2. OTP Not Received
Solution:
- Check mobile signal
- Enable SMS permissions
- Try again after 5 minutes
3. Document Upload Error
Solution:
- Compress file size
- Change format to PDF/JPG
- Rename file without special characters
4. Form Rejected
Solution:
- Read rejection reason
- Correct details
- Reapply using acknowledgment link
🔎 Expert Tips to Avoid Mistakes
To successfully fill SIR form online India, follow these expert-level tips:
✔ Use correct spelling as per Aadhaar
✔ Do not upload selfies instead of passport photos
✔ Always double-check email ID
✔ Avoid using emojis or slang in explanation fields
✔ Upload clean, clear documents
✔ Keep your phone nearby for OTP
✔ Use only official government portals
These small tips greatly improve approval chances.
📌 Frequently Asked Questions (FAQ)
1. Can I fill an SIR form using my phone?
Yes! You can easily fill SIR form online India using any smartphone.
2. Is Aadhaar mandatory?
In most cases, yes.
3. How long does approval take?
Anywhere from 24 hours to 30 days depending on the department.
4. Can I edit the form after submitting?
Some portals allow editing; others require a fresh submission.
5. Is there any fee?
Often it’s free, but some professional or compliance SIR forms may require payment.
📝 Final Summary: The Easiest Way to Fill SIR Form Online in India
If you follow the steps in this guide, you will be able to fill SIR form online India without confusion, errors, or delays.
Final Steps Checklist:
- Visit official portal
- Login/Register
- Choose correct SIR form
- Keep documents ready
- Fill details carefully
- Upload required files
- Review application
- Submit & download acknowledgment
- Track status
- Download final report
With digital systems improving across India, completing government and institutional forms has become quicker and more user-friendly.
If this guide helped you understand how to fill SIR form online India, feel free to ask for a PDF version, infographic, or SEO tags—I can create them instantly.